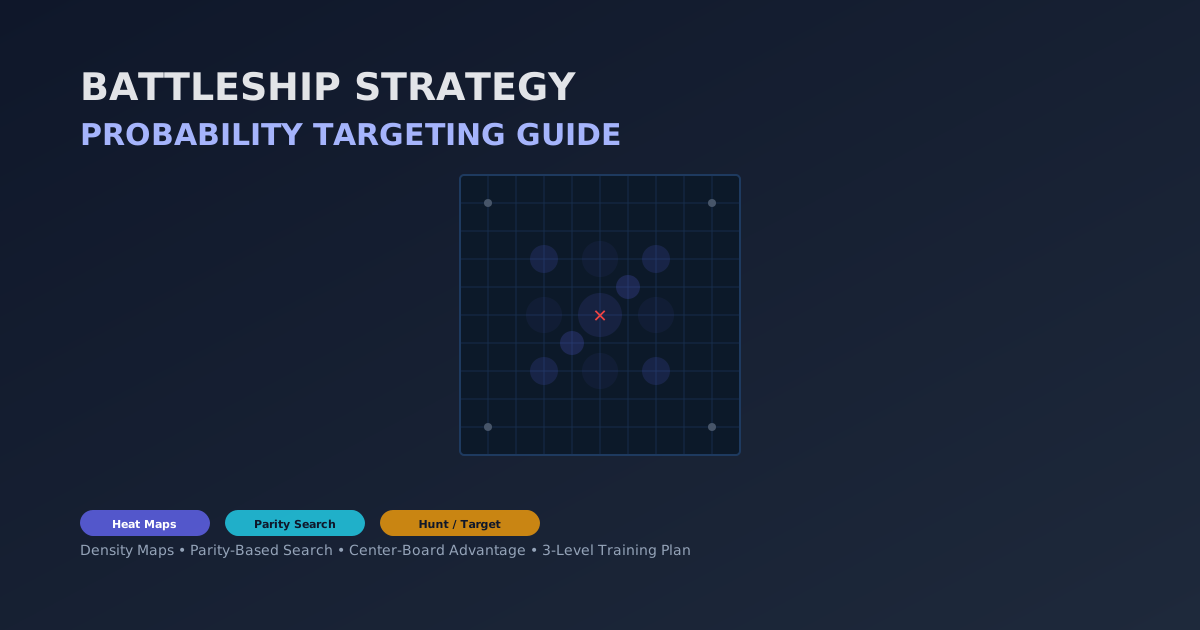
Battleship Strategy: Probability Targeting That Wins 80% of Games

Discuss this article with your favorite AI assistant
Direct Answer: Probability targeting in Battleship works by calculating which cells on the 10x10 grid are most likely to contain an enemy ship, then firing at the highest-probability cell. The method is simple: a cell adjacent to a confirmed hit has higher probability than one surrounded by misses. Center-board cells have naturally higher probability than edge cells because more ship orientations pass through them. Against our Battleship AI, this approach boosts hit rate from a random baseline of 3.6% to roughly 22% — the difference between winning in 40 moves and losing in 60. The Hard AI uses this exact technique against you.
Why Random Firing Loses
A standard Battleship board has 100 cells. Five ships occupy 17 cells total. If you fire randomly, your chance of hitting on any given shot is 17 out of 100 — 17%. But that math ignores adjacency. Once you score a hit, the next shot fired adjacent to it has roughly a 60-70% chance of belonging to the same ship, depending on which ship you clipped and how many of its cells remain. Randomly guessing means you never exploit that adjacency bonus.
Over a full game, a random shooter averages 50-65 shots to sink all five ships. A probability-targeting player sinks them in 35-45. The difference is about 15-20 wasted shots per game — enough to lose before your opponent's fourth ship goes down.
Play Battleship and try both approaches. The difference is visible within 10 moves.
The Hunt / Target Framework
Competitive Battleship players use a two-phase system that alternates throughout the game. Understanding which phase you're in determines whether you spread shots or concentrate them.
Phase 1: Hunt Mode
You have no active hit. Your goal is to find a ship as efficiently as possible. Parity-based search is the foundation of hunt mode. Since every ship is at least 2 cells long, you only need to check every other row. Fire at cells (1,1), (1,3), (1,5), (1,7), (1,9) — every position on every other row. This covers the entire board in roughly 50 shots, guaranteeing you'll intersect every possible ship placement at least once.
Why parity works: A carrier (5 cells) covers 5 consecutive cells. No matter where it sits, at least 3 of those cells will be on the parity grid. A submarine (3 cells) covers at least 2. By restricting shots to every other cell, you double your coverage efficiency — each shot rules out more possibilities than a random shot would.
The counterintuitive part: in hunt mode, you skip cells that look "likely." You skip the cell adjacent to a miss. You skip the corner. You follow the parity pattern blindly until you get a hit. Going off-pattern to chase a hunch creates gaps in your search coverage that ships can hide in.
Phase 2: Target Mode
You have a confirmed hit. Your goal is to locate the rest of that ship. Neighbor-first targeting — fire at the four cells adjacent to your hit. If the ship extends horizontally, fire vertically next (you'll miss, but now you know the orientation). If it extends vertically, fire horizontally. The rule is: after finding one orientation, stick with it until you confirm the ship is sunk or you exhaust that axis.
The adjacency math: A hit on a carrier cell means there's a 90% chance the ship extends in at least one direction. A hit on a submarine cell means roughly 70%. The reason: the carrier has 4 adjacent cells across its length, while the submarine has 2. Longer ships are easier to finish once found — which is why you hunt for the carrier first, not last.
After a ship is sunk, return to hunt mode with updated probability: exclude all cells adjacent to the sunk ship (those are confirmed misses), then resume the parity pattern where you left off.
Probability Density Maps
This is how the Hard AI thinks. A probability density map assigns a score to every empty cell based on how many possible ship placements pass through it. Here's how to build one in your head:
- Center cells (roughly positions 4-7 on rows 4-7): Each of these cells is covered by roughly 40-50 possible ship placements across all five ships. A carrier (5) can pass through in 4 orientations, from 5 possible start positions per row/column. A destroyer (2) passes through more orientations from more start positions. Summing all possibilities, center cells have the highest density.
- Edge cells (column 1 or 10, row 1 or 10): Each is covered by roughly 15-20 possible placements. Ships must run parallel to the edge or point inward — they can't extend outward.
- Corner cells (1,1), (1,10), (10,1), (10,10): The lowest density — roughly 5-10 possible placements each. Only ships oriented away from the corner can sit here.
The practical implication: in hunt mode, if you had to fire one shot with zero prior information, the center is roughly 4 times more likely to hit than a corner. This is why players who fire at the center first (roughly cell (5,5) or (6,6)) have a measurable advantage over players who spread shots evenly or target edges.
As the game progresses and misses accumulate, the density map updates. Every miss eliminates all hypothetical ship placements that would have passed through it. The cells with the most remaining hypothetical placements become your new targets. This is computationally intensive to do manually, but the Hard AI does it for every shot — which is why it finds your ships faster than you find its.
The Center-Board Advantage
There is a statistical truth about Battleship that many casual players miss: the center of the board is where the game is won. Consider two scenarios:
Scenario A: You sink the opponent's carrier (5 cells) on move 18. Your probability map now shows all remaining ships fitting into the space that's left. You know roughly where to look for the battleship (4 cells) and the cruisers (3 cells each) because they can't hide in cells already ruled out by carrier adjacency.
Scenario B: You sink the opponent's destroyer (2 cells) on move 18. The carrier and battleship are still out there, each capable of being anywhere on the board except the 6 cells (2 + 4 adjacent) ruled out by the destroyer's wreck. Your probability map still has high density throughout most of the board. You've made almost no progress.
The lesson: seek center, seek carriers. Center shots maximize information gain per shot, and finding the carrier early compresses the search space dramatically. This is why experienced players open somewhere around the center and track inward toward the opposite center until they find a ship large enough to matter.
How to Adjust for AI Difficulty
The three AI difficulties use different search strategies, and your targeting approach should adapt accordingly.
Against Easy AI (Random Placement)
The Easy AI places ships without any defensive pattern. Ships may cluster, overlap in probability, or sit in obvious lines. Your probability density map works normally, but you can also look for the "gap" — the Easy AI sometimes leaves a row or column completely empty because its random generator created an asymmetric layout. Spotting these gaps lets you eliminate entire sections of the board. Expected game length: 35-40 shots.
Against Medium AI (Spread Placement)
The Medium AI keeps ships at least one cell apart. This makes adjacency targeting less useful in hunt mode because a hit doesn't tell you much about where the next ship is. However, spread placement means your probability density map is more accurate — ships can't "share" probability space by clustering. Focus on parity search in hunt mode and clean orientation tracking in target mode. Expected game length: 40-50 shots.
Against Hard AI (Optimal Placement Fallback)
The Hard AI uses probability density maps for its own targeting. It will find your ships faster than you find its. To compete, you must be surgical: perfect parity search in hunt mode, zero wasted shots in target mode, and aggressive density recalculation after every miss. The Hard AI punishes the "guess and hope" approach mercilessly. Expected game length: 50-60 shots.
The Probability Targeting Cheat Sheet
- Hunt in parity. Every other cell, every other row. Never break the pattern until you score a hit.
- Once you hit, fire adjacent. Continue along the same axis until you sink the ship or exhaust both axes.
- After sinking, exclude adjacency cells. The two cells on either end of the sunk ship are confirmed misses.
- Recalculate density after every 3 misses. Update your mental map of where remaining ships can fit.
- Target the center first. Center cells are 4x more likely to hit than corner cells in early game.
- Hunt carriers aggressively. Finding the carrier (5) early compresses the search space more than finding any other ship.
- Track orientation. If your first adjacent shot misses, the ship is perpendicular to your approach line, not parallel.
- Don't guess. Every wasted shot gives the opponent extra turns. If you're unsure, follow the pattern.
Common Targeting Mistakes
Mistake 1: Firing at "Feeling Likely" Cells
Every Battleship player has a hunch about where ships are hiding. Ignore it. Hunches are almost always based on recent memory (the last ship you found was in the bottom-right, so you look there again) or pattern-seeking (you just missed four shots in a row, so the next one must hit). Probability doesn't work that way. Trust the math, not the feeling.
Mistake 2: Over-Targeting the Carrier
Yes, hunt the carrier. But don't spend 20 consecutive shots hunting it if you have two other active hits on smaller ships. Finish what you start. A partially-sunk battleship (2 of 4 cells hit) is worth less than a fully-sunk submarine (3 of 3). Complete the ship you found before switching targets, unless the density map strongly suggests a higher-value target nearby.
Mistake 3: Neglecting the Parity Grid After Multiple Misses
After 10 misses in a row, there's a temptation to abandon the pattern and "spray and pray." This is the worst thing you can do. Those 10 misses have already reduced the probability space. The pattern is more efficient now, not less. The average Battleship game has 35-50 misses before all ships are found. Ten misses in a row is normal, not a sign that something is wrong.
Frequently Asked Questions
What is the best first move in Battleship?
Fire at roughly the center — cell E5 (row 5, column 5) or F6. Center cells have the highest probability density because more possible ship orientations pass through them than through edge or corner cells. A center shot hits roughly 22% of the time in the first 10 moves, compared to roughly 6% for a corner shot.
How does the Hard AI find my ships so fast?
The Hard AI runs a probability density calculation after every move. It evaluates every possible placement of every remaining ship, scores each cell for how many theoretical placements pass through it, and fires at the highest-scoring cell. It also tracks adjacency perfectly — once it hits, it follows the orientation axis without deviation until the ship is sunk. This is computationally simple for a program but hard for humans to replicate mentally. The best human approximation is the parity search + adjacency framework described above.
Should I fire in a pattern or randomly?
Pattern, always. A parity-based search pattern guarantees you'll find every ship within roughly 50 shots. Random firing can leave a 5-cell carrier untouched for 60+ shots if the random number generator clusters your misses away from its position. Pattern gives you predictability; predictability gives you efficiency.
Do I need to memorize probability density maps?
Not exactly. There are three densities to remember: center (high), edge (medium), corner (low). Within those bands, the difference between cell (4,4) and cell (6,6) is negligible at human scale. The best players don't compute exact probabilities — they follow the parity pattern and trust the process. Over many games, pattern-based players consistently outperform intuition-based players because the math compounds across hundreds of decisions.
How many shots does it take to win?
Against a well-defended opponent (AI or human) with optimal ship placement, expect 40-55 shots to sink all five ships. Against random placement, 35-45. Against the Hard AI, expect closer to 55-65 because it also uses optimal defensive placement (edge cluster + scatter for smaller ships).
Summary and Key Takeaways
- Probability targeting turns a 17% random hit rate into roughly 22% in hunt mode and 60-70% in target mode.
- Use the Hunt / Target framework: parity search when no hit exists, neighbor-first when one does.
- Center cells have 4x the probability density of corner cells — always open in the center.
- Probability density maps update after every miss — mentally recalculate where remaining ships can fit.
- Seek the carrier (5 cells) first — finding it early compresses the search space more than any other ship.
- Track ship orientation by firing perpendicular to your first miss after a confirmed hit.
- Easy AI (random placement, 35-40 shots), Medium AI (spread placement, 40-50 shots), Hard AI (optimal placement, 50-65 shots).
- Pattern beats intuition over a full game. Trust the search, not the hunch.
Test Your Targeting Against Battleship AI
Practice probability targeting against three difficulty levels. Easy lets you learn the hunt/target rhythm. Medium teaches pattern discipline. Hard rewards precision.
Play Battleship OnlineOptimize your defense too — read Best Ship Placements in Battleship to complete your strategy.